CÁCH XỬ DỤNG THERMAL GREASE
Thermal Paste and How To Use It
Introduction
Whenever you install a heatsink on a CPU or a video card, you always have to apply thermal paste. It is very crucial to the performance of the heatsink. You could get a very high-end heatsink, and without thermal paste, it will fail to work in the way it was designed too.What is thermal paste and what does it do?
Thermal paste is a very high heat conductive paste that is used between two objects (usually a heatsink and a CPU/GPU) to get better heat conduction. It fills in all those microscopic imperfections on the heatsink and CPU/GPU that can trap air in them and cause a loss in the heatsink’s performance. Air is a very poor conductor of heat. Thermal Interface Materials (TIM) can be up to a 100 times greater conductor of heat than air.However, thermal paste is not near as good of a conductor as copper. Thus, too much thermal paste will hinder a heatsink’s ability to cool properly.

This is an exaggerated view of what these microscopic imperfections would look like. All the white area would represent the air pockets, and this is what the TIM would fill in. It wouldn't be such a gap like this, but this just an example to give you a rough idea of what it would look like.
If you could have a perfectly flat heatsink base, and CPU, you would not need thermal paste. But it is impossible to do so, and that’s why we need thermal paste.
Types of thermal paste
There are essentially three types of thermal pastes:- Metal based
- Ceramic based
- Silicon based
Ceramic-based TIM’s are also a popular solution that doesn’t perform quite as well as metal-based pastes, but the difference is minimal (1-3C). These consist of some form of thermally conductive material with lots of little ceramic particles. The advantage of ceramic-based pastes is that they do not conduct electricity.

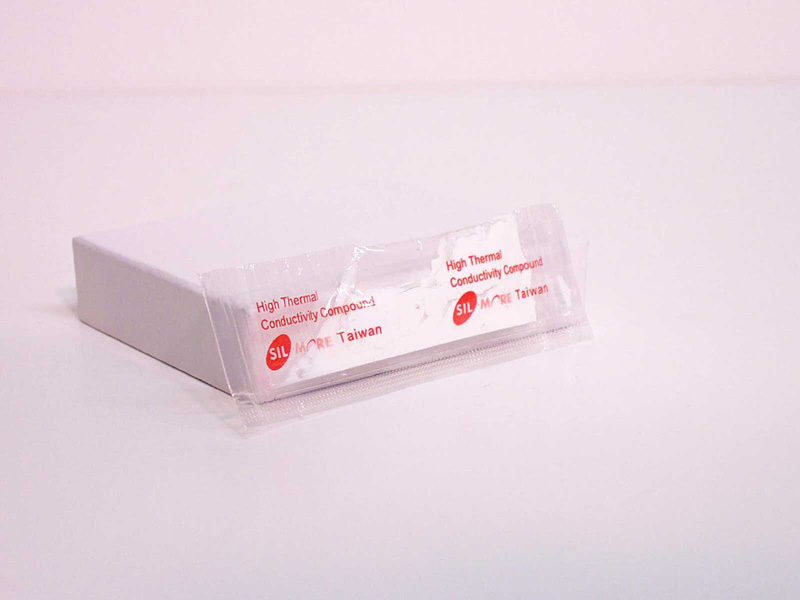
Silicon-based TIM’s are usually what thermal pads that come on stock heatsinks are made of. These work well, but nowhere near to what other pastes will. Usually they come with cooling kits.
There are also thermal epoxies, these are basically the same thing as regular grease, but are actually used to permanently attach the heatsink. They are not recommended for most cases, but in some they are of course. One main example for a use of an epoxy is, attaching heatsinks to video memory. Most of the time you use thermal pads that don’t perform very well, so an alternative is thermal epoxy. But the disadvantage is, that most of the time you will not get the heatsinks off once they are put on.
What can be tried to get epoxied heatsinks off is to put the video card in the freezer before trying to remove the heatsink. The low temperature will make the epoxy brittle, so it goes off easier.
http://www.techpowerup.com
Choosing the right thermal paste
When choosing a paste for your heatsink, you have two main types that are usually considered; metal-based or ceramic-based. In most cases people use the metal-based, simply because it performs better as stated before. But nowadays, especially with GPUs, there are a lot of transistors/electrical components that are very close to the die.So when applying thermal paste, if you are not very experienced with applying it, there is a chance that when you place the heatsink, some of the paste can be squeezed out onto theses transistors/electrical components and cause a short. This is very bad of course and is a nightmare for anyone.
This is where a ceramic-based compound has the advantage. With RAM module heatsinks, ceramic-based is almost a given to use. GPUs and chipsets are also examples that you might want to use a ceramic paste on, unless you are comfortable with using metal-based. But do not use a metal-based paste on RAM. Metal-based is usually used on CPUs that have an Integrated Heat Spreader (IHS). All modern CPUs have an IHS, but some people will actually remove it to get better performance.
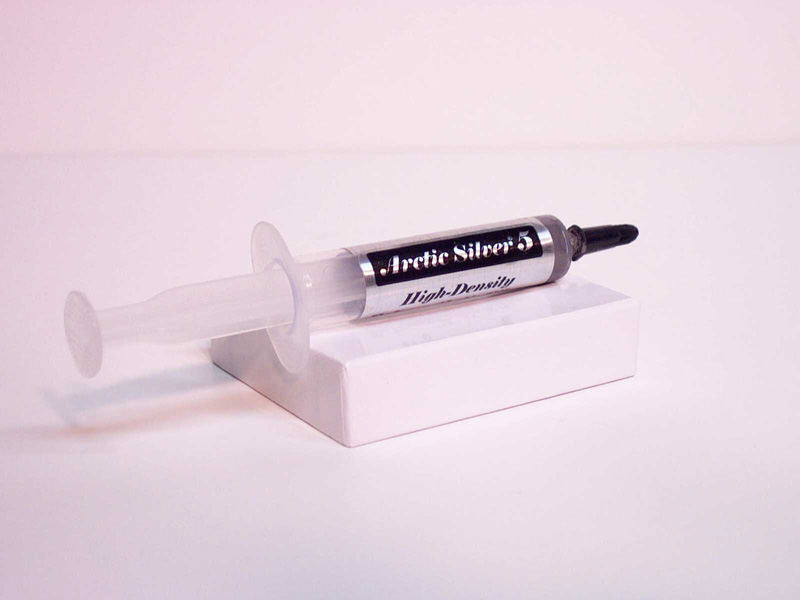
For brands of thermal paste, the best around are Arctic Silver, Arctic Cooling, Coollaboratory, and a few others. They make very high quality thermal materials that are the most used by end-users. You can't go wrong with these brands. Other makes will work great, but maybe not as good. For the few extra dollars that are needed for some of the more expensive brands is usually worth it.

Cleaning your chip first
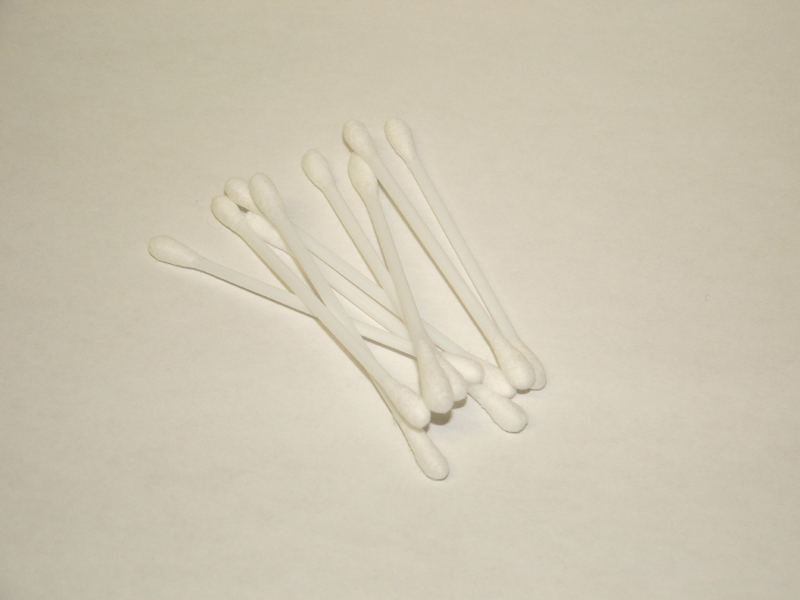
If you’re installing a new heatsink before you even had a heatsink on you CPU, then there is no need to do this. But in the case of putting a new one on, or changing a video card cooler, then you must clean your chip first.For this, most used is Isopropyl Alcohol, Acetone, or a solution called ArctiClean. For using the cleaners, use non-linty cloth or Q-Tips (cotton swabs). Q-Tips are great where they're small and easy to get where you want, plus you can also see exactly what you are doing.
For Isopropyl Alcohol, the higher the percentage the better. 70% is not bad, 90% or higher is the most ideal. The reason; the higher the percentage, the quicker it will evaporate and the less residue it will leave. 99% will leave almost zero residue.


Note: Never use any oil-based cleaners, as oil will ruin your coolers performance because it adds an oil layer through which heat travels slowly.
When you have your cleaner, dip your cloth/Q-Tip in, then gently rube the surface of the chip until all the old paste is gone. You will probably have to do this more than once to get it nice and clean. It is usually a good idea to use a credit card to scrape most of the old TIM off, and then use the cleaners.


The exact same process is used to clean the CPU/GPU. Just be careful if you're cleaning the CPU out of it’s socket. If you push to hard on it, you might bend a pin.
Note: Make sure you do not touch the surface of the chip with your bare finger, as your skin has natural oils on it as well.
To remove thermal pads, use a credit card or some other plastic object (do not use a metal object as it could scratch the cooler's base). Then follow the same procedure as stated above. You want to make sure all of the old paste or thermal pad is gone, otherwise it can affect performance of the cooler.
http://www.techpowerup.com
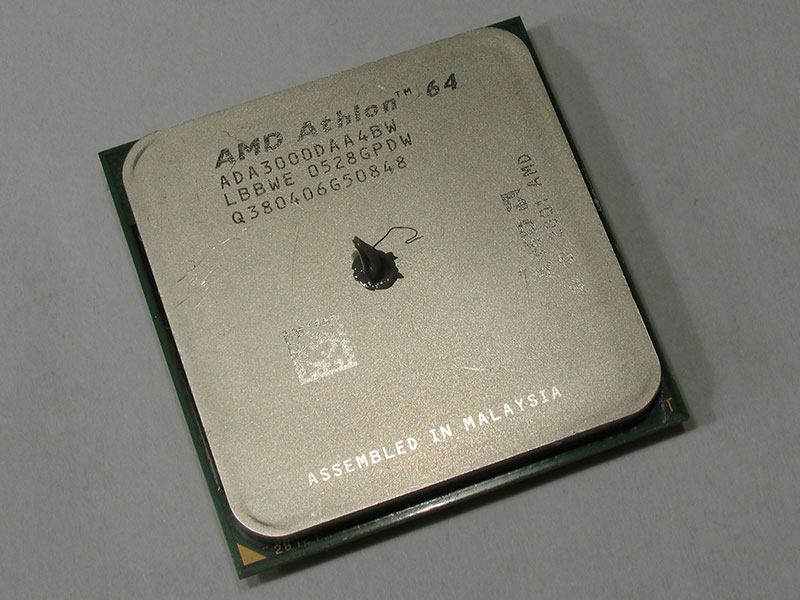
Applying thermal paste
Applying thermal paste is a simple task, but you must take your time as with all things. Remember what the thermal paste does. It gives better conduction between the heatsink and CPU/GPU because it fills in all those little imperfections on the heatsink that cause poor conduction due to having air in them. You only need as much thermal paste as it takes to fill in these little holes/divots.Some people will “lap”, their heatsink so they get it smoother. This will increase performance even more. The more area that the heatsink has touching the CPU/GPU, the better it will perform. When you lap your heatsink, and you do a good job of it, you will require even less thermal pastes, as these imperfections have got even smaller.
Once your CPU is nice and clean and you have your TIM, now it’s time to apply it.
To apply it, you put a little drop, little being about the size of a rice grain and so it doesn't squeeze out when the sink is reapplied. Once you have the right amount of TIM (will vary depending on the application, GPU will uses less than a CPU with a IHS) you spread it out as thin as you can get it. Heatsinks that are not lapped generally require more thermal paste.
With AS5 and some other TIMs, it's perfectly fine to put a little dab in the middle without spreading it with a CPU that has an IHS. With the mounting force of the heatsink, the thermal paste will spread itself out. In some ways this is a better way of doing it, because you don't have to worry about getting it even. The possibility of having air bubbles between thermal paste and heatsink is also drastically reduced that way. CPUs with an IHS produce heat only in the center of the IHS, where the core is.
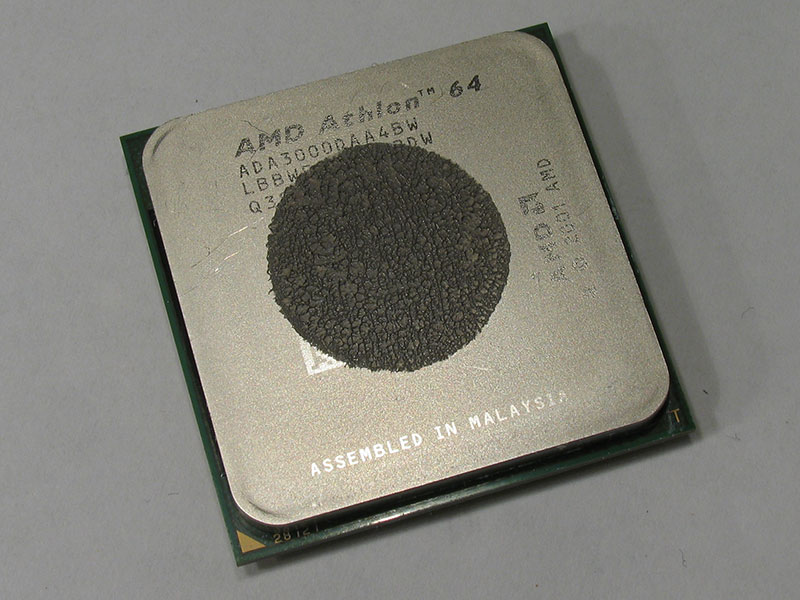

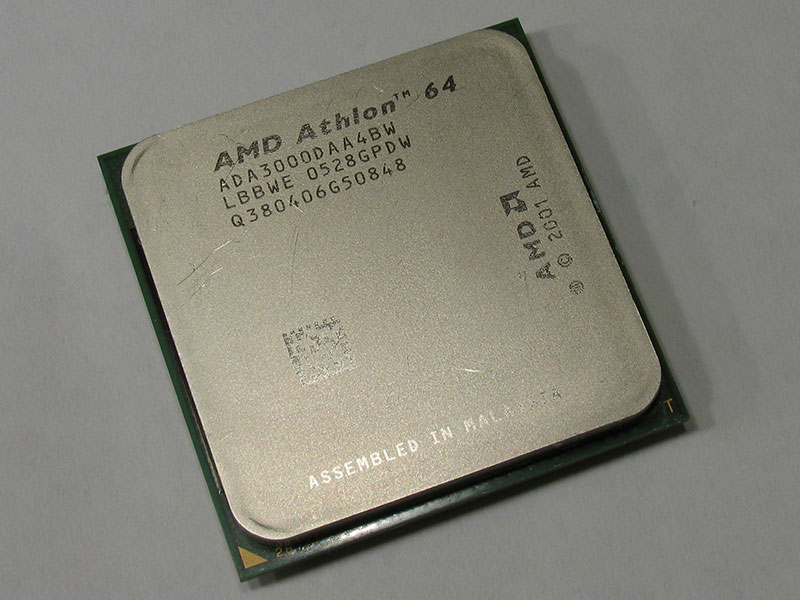
Note: It is recommended that you use the little dab in the center without spreading it technique on CPUs with an IHS. On everything else without an IHS (bare die, like a GPU or the picture above right) you should spread the paste out as thin as possible over the die.
Some people will put their hand in a plastic bag or latex gloves and spread the paste out so they don't contaminate it, then use some straight edge (usually a credit card) to get it nice and even. Others will just use the credit card straight away. You want the layer of paste as thin as possible; less than half a millimeter, almost translucent, is good.
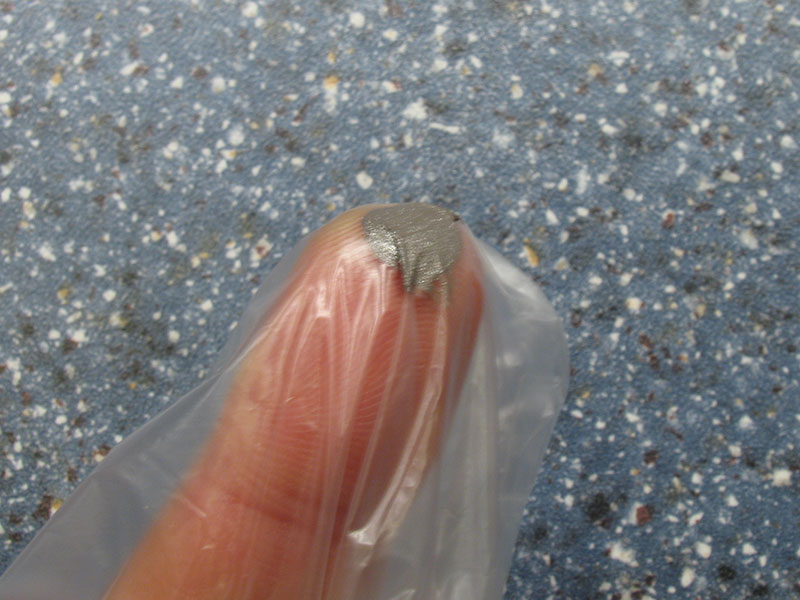
Note: If you decide to use a latex glove, make sure you get the powder-free ones. Getting the powder on the heatsink and mixed with the paste will degrade performance.
Another trick that some use is applying the thermal paste to the heatsink base, then wiping it off (not using cleaner, just a non-linty cloth). This assures that all the imperfections on the heatsink are filled as well.
Once you have the paste spread nice and even and as thin as you can get it; it's time to mount the heatsink. Be very careful when doing so, so that you don't have to do it twice. If you put it on, then take it off, you should re-apply the paste. You want to bring the heatsink onto the CPU as level as possible. If you angle it, it can disrupt the paste from spreading evenly.

Conclusion
Once your heatsink is properly mounted and the fan is connected you are ready to boot. It's not a bad idea to go into your BIOS or video card temperature-monitoring program to watch your temperatures for a few minutes. Just to make sure the paste was properly applied and that what ever part's paste you applied doesn't to get to hot.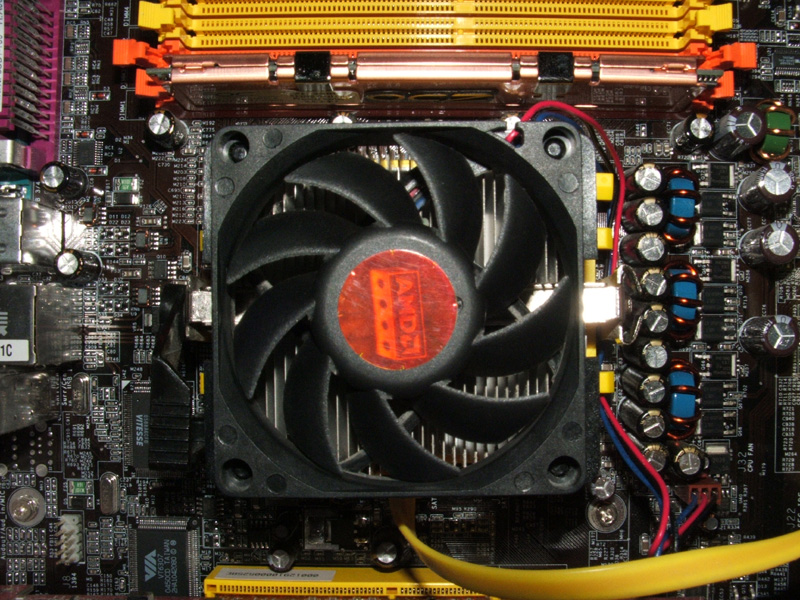
Most pastes have what’s known as a "burn-in period". Over this period, the performance of the thermal paste will increase, and lower your temperature. Also with heat, the paste will even itself out more. AS5 will generally gain performance (5-8C drop) over 200 hours of break-in period. Having many heat-up - cool-down cycles help speed up the process.
No comments:
Post a Comment